Get In Line: Pedal Order 101
Aaron Rogers
Spend enough time browsing the comments section of gear demo videos and if you don't lose your mind first, you’ll inevitably see the question: “Where should I place [pedal] in my chain?”
I’m going to make this easy. Put it wherever you’d like. If it sounds bad, put it somewhere else. If it sounds good, leave it there. It’s that simple. You can stop reading now, if you’d like.
I think of effects pedals as art supplies. Some pedals are paintbrushes, used mainly for broad strokes. Others are sponges built to lightly feather paint onto a canvas and are best used sparingly. Some (here’s lookin’ at you, synth pedals) are the whole damn canvas. Others are pencils, sketching a rough outline before becoming hidden beneath layers of paint, but remain a vital part of the process. The truth is that it’s less about the paint and more about the picture.
With so many variations on so few themes, it’s easy for aspiring pedalheads to get so lost in the weeds debating the merits of this type of transistor versus that, or if delay comes before or after overdrive, that we forget about the most important thing: making music.
That being said, a little knowledge of color theory and perspective never hurt an aspiring painter, and the same applies when thinking about the basic audio concepts influencing signal routing and pedalboard layout, which I’ll explain shortly. Then I’m going to walk through my modest bass setup and explain my decision making process in hopes that it’ll get you thinking about your own pedalboard not as a puzzle to be solved, but as a natural extension of your musical self.
Ground Rules
I know I just said all that stuff about being a natural musical extension or whatever, but there are two basic audio concepts to consider when assembling a pedalboard: gain staging and signal-to-noise ratio (or noise floor). That the two are forever linked should surprise no one.
The Yamaha Sound Reinforcement Handbook defines Signal-to-Noise Ratio as “the difference between the nominal level and the noise floor.”
For our purposes, the “nominal level” is your guitar’s signal as it passes through your effects chain, and the “noise floor” is the combined electrical noise generated by the circuitry within your pedals and amp. If you’ve ever played a high gain amp and heard a hissing sound when you mute the strings, that’s the noise floor. Players of single coil pickups will recognize this along with the persistent buzz of 60-cycle hum which occurs when electrical current from the wall leaches its way into the signal path.
Manufacturers have battled this phenomenon for decades by installing humbuckers or reverse-wound single coil pickups, or by designing noise gates which eliminate much of the electronic noise while allowing the guitar signal to pass through more or less unobscured. However, with proper gain staging, you can minimize the noise floor and maximize the killer tone you’ve been chasing all this time.
Call for Help
In the article “Gain Staging Like a Pro,” Sweetwater defines Gain Staging as “the act of setting the gain for each amplification stage (gain stage) in a sound system to achieve a target system volume that minimizes noise and distortion.”
The article is written from a live sound/pro audio perspective, but guitarists can apply these same concepts in our own rigs to achieve the best signal-to-noise ratio possible and dial in the perfect tone for any acoustic space. This makes a lot of sense because the goal of a guitar (or bass) rig is the same as a PA system - to reproduce the desired signal (or sound) as purely as possible; to transmit a complete musical idea to an audience without obstruction, distortion, or interference.
I know what you’re thinking: “But my favorite guitar tones are distorted?” Mine too.
In this case, “distortion” refers not to an overdriven guitar sound, but any unintentional clipping in the signal path. Distortion occurs when a signal overloads an amplifier, or “gain stage.” Again, we’re not talking about a guitar amp, which is itself built from multiple gain stages, but a single electronic circuit designed to increase the amplitude (which we perceive as volume) of an electrical signal. A preamp is a gain stage, as are equalizers, the makeup gain circuitry of compressors, and power amps.
Other amps called summing amplifiers combine two or more signals into one, and are most commonly found in mixing consoles and DAWs which “mix” multiple tracks of audio down into one (usually stereo) file.
The wet/dry blend on most modulation and/or time-based effects is an example of a summing amplifier used by guitarists. This part of the pedal’s circuit combines your wet signal with your dry signal. When the summing amps in effects pedals clip, the result is typically pretty ugly. A common example would be a cranked overdrive blowing out a digital delay pedal, for instance. Not a pleasant sound. In my experience, it’s best to leave the distorting to distortion pedals. Sure, there are exceptions - two big ones being the preamp of old Echoplex tape delays, or recording direct through vintage Neve preamps, but you get my drift.
Pedal Order
Conventional wisdom suggests that the ideal pedal order is wah/filter, compression, overdrive, modulation and pitch-based effects, delay, and reverb. Why is that?
Wah-wahs and Filters
Wah-wahs and filters have a wide frequency response and full dynamic range which most players will want to preserve, which is why these effects are most commonly found at the front of the chain. However, at extreme settings (this is especially true of filters or auto-wahs) these effects can produce frequencies that sound harsh and potentially even damaging to our ears and/or speakers.
By placing compressors and overdrives after these effects, you can effectively “rein in” some of the potentially speaker-blowing and ear-bleeding frequencies inherent to these devices. Also, anyone who’s ever placed their wah pedal after distortion can attest to the squelchy howl as the wah pedal picks up the extra noise in your gain pedals. This isn’t necessarily a bad thing, but it’s important to know how and why this happens so you can make an informed choice when building a pedalboard to create sounds that will serve your music.
Compression
Compressors are usually placed between filtering effects and overdrives. I covered compression at length in an earlier post, but for those in need of a refresh:
Compression is dynamic range reduction. What this means is that when an audio signal is sent to a compressor, the loudest parts of the signal are automatically turned down, while the quieter parts remain the same. This reduces the difference in relative volume between the loud stuff and the quiet stuff. The entire dynamically reduced signal is then amplified so that the quiet parts become more audible in the mix, but the loud parts aren’t so loud that they overpower other elements of the song.
Most compressors are unable to distinguish between your guitar signal and the noise floor, which increases as you add pedals (especially overdrives and fuzzes) to your chain, which is why it’s best to patch them in early. Also, by providing a more consistent signal, compressors can improve the tracking of analog octave and other pitch-based effects down the line.
While compressor attack and release times and ratio and threshold settings are a matter of personal taste, I recommend setting your compressor for unity gain.
Unity Gain occurs when a gain stage (in this case a compressor pedal) neither amplifies nor attenuates the signal. It’s like the signal is just passing through. To achieve unity gain, set up your compressor for the sound you like, then adjust the Output (or Level) control so that your overall volume is the same no matter if the pedal is on or off. You’ll still hear and feel the compressor at work when you attack the strings, but the difference in overall volume should be negligible. Try this in a band setting and you’ll really notice a difference in how you fit into the mix. I leave my compressor on all the time, but if you prefer to use your compressor as a boost, then by all means, forget about unity gain and boost away. It’s still a handy bit of knowledge to have as you assemble the rest of your pedalboard.
Overdrive, Distortion, and Fuzz
For most players, these pedals are the foundation of our sound. I can’t hear the words “Big Muff” without thinking about Mudhoney, Dinosaur Jr., Smashing Pumpkins, and so on. Try shouting “TS-808” in a crowded Guitar Center and see how many folks reply, “Stevie Ray Vaughan!” No really, it’s fun. Actually, don’t do that. It’s a terrible idea.
Because many players leave these pedals on for long periods of time, they’re placed at a spot in the chain where the noise floor is least likely to be accentuated by pedals further downstream.
If stacking multiple drive pedals, conventional wisdom suggests that lower-gain pedals should be placed before higher-gain pedals, but as always, experimentation is your friend, and you’d be surprised at the sounds you’ll uncover simply by swapping patch cables.
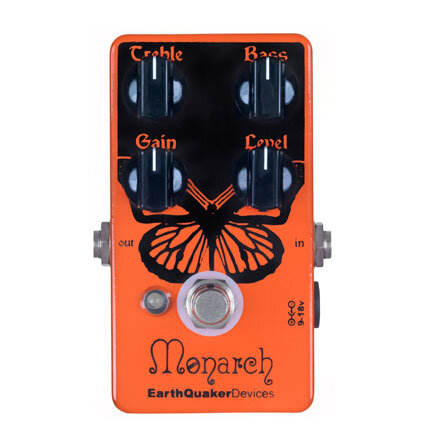
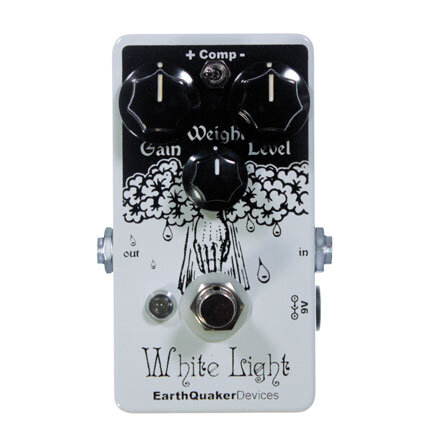
I discovered one of my favorite overdriven bass sounds by slamming the front end of the White Light with the Monarch. The White Light compressed in such a way that I thought my bass fit perfectly into the mix with the rest of the band, and the rich harmonics generated by the cascading gain stages were unlike anything I’d ever heard. And it felt good. I tried stacking these two the “correct” way and it wasn’t the same.
Modulation and Pitch-based Effects
Here’s where bending the rules becomes lots of fun. Once again, our old friend Conventional Wisdom says these effects go between overdrive and delay, and that’s partially because these circuits (especially when DSP is involved) are susceptible to artifacts like LFO bleed-thru or digital clock noise caused by analog-to-digital conversion, which most players prefer not to amplify or distort any more than they have to. And if that’s not enough, placing modulation before distortion sometimes sounds bad to the average listener. But you’re not an average listener, are you? Didn’t think so.
The caveat here is that some devices (especially analog octave or synth-based effects) track most efficiently early in the chain. The exception that proves the rule. What’s a tonehound to do?! It’s easy. Use your ears. No matter where they fall in the chain, set these pedals (and any other pedals used in conjunction) for the best possible trade-off between the sound in your head and the noise floor, and continue playing your instrument. If something sounds muddy, try reducing the wet signal, lowering the gain of another pedal, or making an EQ adjustment*. If your music needs it, crank the wet signal up all the way and keep rocking.
[*Tip: To maintain the best S/N ratio when using an EQ, try cutting frequencies before boosting. Boosting adds more gain to the system, which generates noise. If your tone sounds muddy, it’s better to clear out the mud by turning down the bass, instead of adding treble, which can eat up precious headroom.]
Delay and Reverb
These so-called “ambient” effects are typically placed last in the chain because they replicate the natural, uh, ambience of an acoustic space. Which is great, if you’re into recreating natural ambient spaces. Furthermore, most players place these effects last because the lingering delay/reverb trails can become a messy, indistinguishable cacophony of noise if you run them before a fuzz pedal. In the appropriate musical setting, however, distorting delays and reverbs can provide an interesting textural flourish as each note sounds cleanly before being enveloped in a blossoming (distorted) ambient cloud. One needs to look no further than Jimmy Page running an Echoplex into his raging Marshall stacks to hear this effect in action.
Do What I Do (Or Don’t)
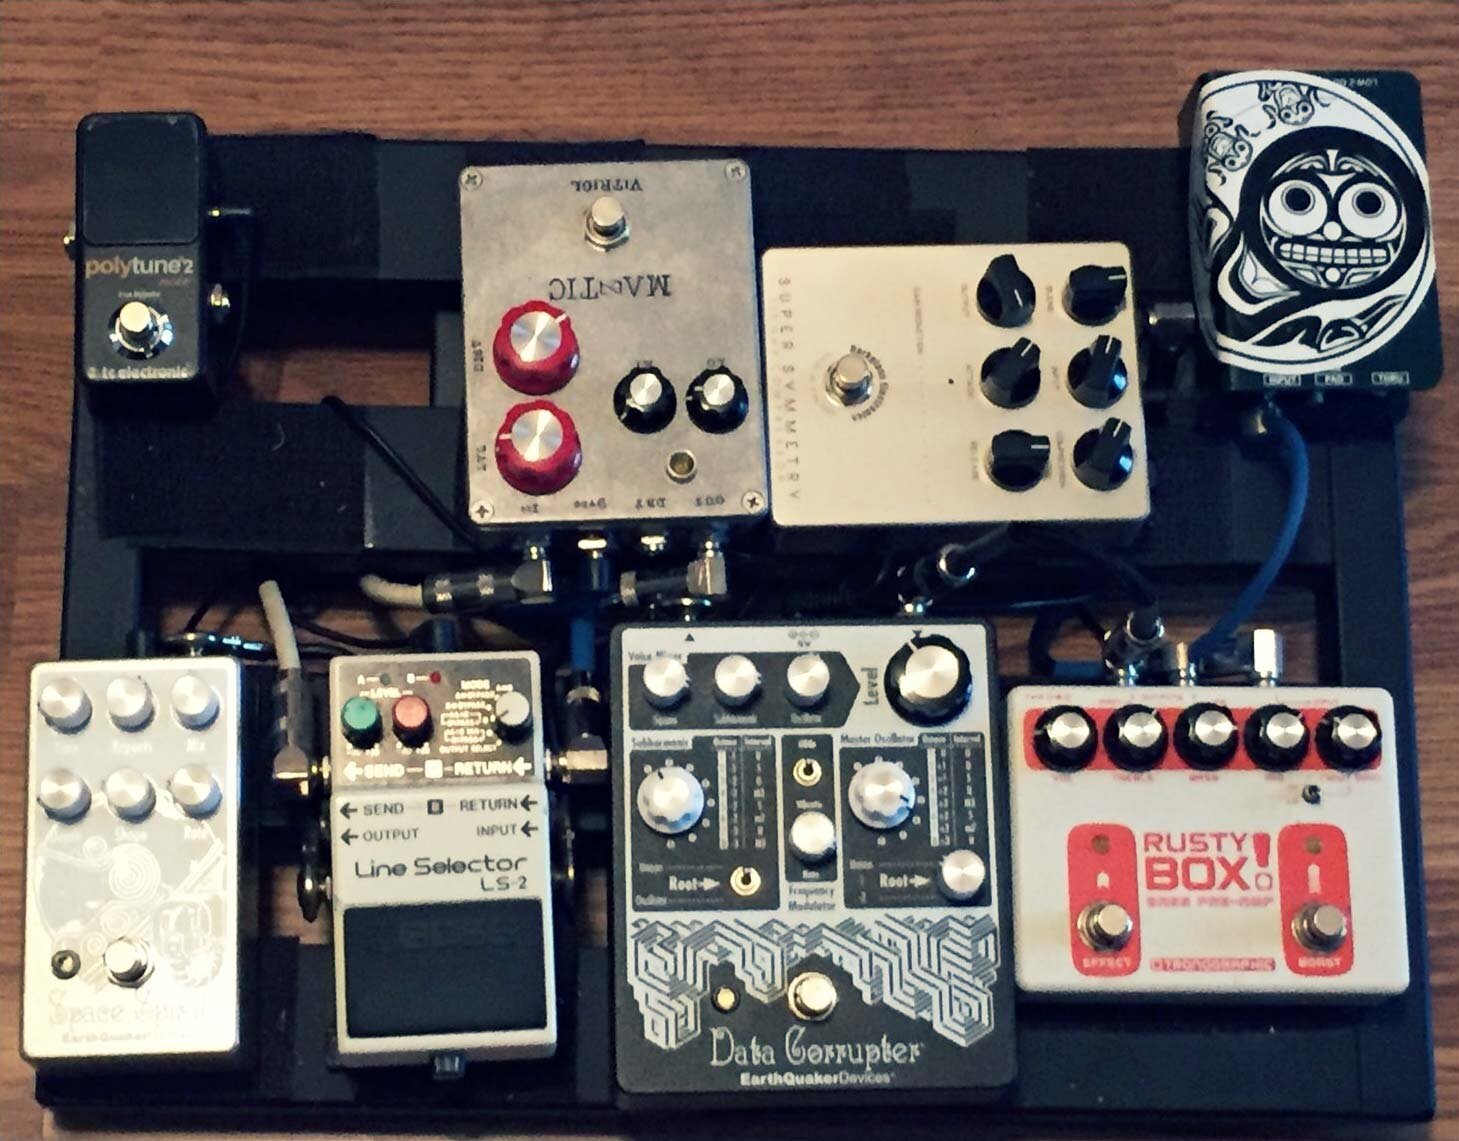
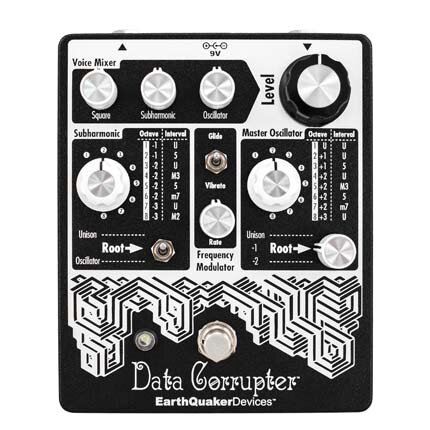
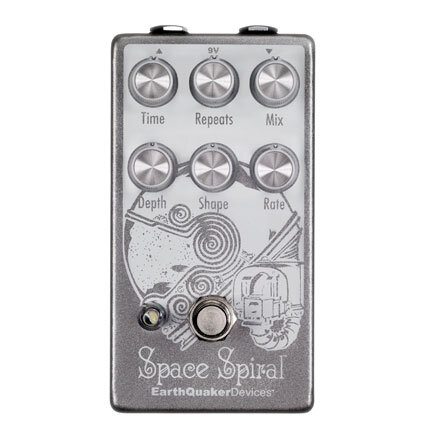
Okay, here’s what I’m workin’ with: Darkglass Super Symmetry compressor > Tronographic Rusty Box bass preamp (line out to Radial passive DI) > Data Corrupter Modulated Monophonic Harmonizing PLL > Boss LS-2 Line Selector > Mantic Vitriol distortion (in LS-2 Loop A) > Space Spiral Modulated Delay > TC Electronic Polytune 2 tuner.
We haven’t covered bass preamps yet, so let’s talk about the Rusty Box first. If you’re a bass player, you should place your preamp near the start of the chain. Mine comes right after the compressor. Preamp pedals are often equipped with multiple outputs for sending a clean bass signal to a PA, and provide a great tonal platform to build upon. The Rusty Box in particular is built to emulate the sound of 70s solid state Traynor amps, which have a distinct, biting overdrive sound heard on records by Shellac, the Jesus Lizard, and nearly every band to describe itself as “noise rock.” I keep mine set for a clean-ish tone that bites back when I play hard, but blurs the line between clean and dirty. The ¼” line output feeds a passive Radial DI used to send my mostly clean tone to the PA, and the main output goes to the next pedal in line. Check out this post to learn more about DIs. Now let’s take it from the top.
At the start of my chain is the Darkglass Super Symmetry compressor, which I use mainly for its tonal benefits, but is also helpful for maintaining a consistent level when switching from fingers to a pick, or vice versa. The Input and Compression controls are set so that when I play with my fingers, the compressor is active only when I dig in hard. When I use a pick, it’s always compressing a fair amount, but I try to avoid lighting up every LED on the gain reduction meter. I use moderate Attack and Release settings to avoid “pumping,” and the Blend is set somewhere between 11 o’clock and 1 o’clock, depending how I feel that day. I set the Output by ear to be near unity gain.
After the compressor comes the Rusty Box. I play passive basses, so I almost think of this pedal as my “onboard active preamp.” I use the “Lo-gain” toggle switch position, and keep the Input Gain right around 10 o’clock, which for my setup is the edge of clipping. Okay, maybe a little over. It’s a little light on low end to my ears, so I’m boosting the Bass quite a bit (around 3 o’clock) and adding a touch of Mid and Treble for character. This pedal has tons of output gain, so I keep the Vol control around 9 o’clock, which is close to unity gain.
From there, I plug into the Data Corrupter, which I’ve placed after the Rusty Box because I’ve found that it tracks better; and before the rest of my pedals because I like to treat the Data Corrupter like a bass-controlled synthesizer instead of just an effect I layer on top of my bass guitar. I consider it to be its own instrument, basically.
The Data Corrupter feeds the Boss LS-2, which I use as a remote to engage the Mantic Vitriol distortion in Loop A. Plus, using the LS-2 in “A+B Mix” mode allows me to blend my clean signal with the distortion. The Vitriol has enough low end on tap that a clean blend isn’t necessary, but I like the extra clarity I get from having the undistorted transient of each note poking through the distortion.
Space Spiral comes next. I like short analog delays on bass, so I keep this set to a quick modulated slapback. Placing it before an overdrive would lengthen the repeats, which I don’t want, so after overdrive it is. Also, because I try to think of myself not as a bass player, but as one member of a rhythm section, I like to keep my delays short and the tone as clean as possible, so I can still get ambient and vibe out without throwing off the groove.
Finally, there’s the TC Electronic Polytune 2 tuner. I prefer to place my tuner last so I can use it as a total kill switch in case something goes awry earlier in the chain. I find this makes troubleshooting during a gig relatively painless, as I can patch and unpatch pedals without sending a speaker-shredding pop to my amp or the PA.
The one downside to my setup is that I have to remember to bypass the Rusty Box before I tune up, or else the audience receives the distinct pleasure of listening at full volume while I tune, since the DI comes before the tuner mute. Nobody’s perfect.

Aaron Rogers works as a freelance live sound engineer and plays the bass guitar in Ultrasphinx.